Compute Testnet Guide
Registering Iagon Compute Node using Compute Node CLI
Iagon Compute Node CLI is a CLI application which allows users to share their computational power on the Iagon network to earn rewards.
This document provides step-by-step instructions to help you install and set up Iagon Compute Node CLI on your system. Currently only Linux based OS are supported.
Running Cardano Node CLI commands as a Compute task
Users can execute cardano-cli commands by specifying the arguments in the textarea and then clicking the "Run Command" button. For commands that require a file as input, there is an input form field available for specifying the filename in the command and providing the contents for that file.
Installation
You can download the Official Compute Node CLI binary from the Iagon's Github Release page. Once downloaded, navigate to the CLI binary and mark it as executable:
chmod +rwx ./iag-cli-linux
Iagon Compute Node depends on 3rd party trusted packages to perform various benchmarks. These benchmarks help track the current performance and availability of the node in the Iagon Network for use. These packages don't come bundled with the Iagon Compute Node CLI binary and have to be installed by the user.
Minimum System Requirements
- OS: Linux (Ubuntu 23)
- CPU Cores Count = 2
- Memory = 8 GB
- CPU base ClockSpeed = 1.5 Ghz
- Storage = 100 GB
- Sequential Read Speed = 250 Mbps
- Sequential Write Speed = 250 Mbps
- Random Read Speed = 50 Mbps
- Random Write Speed = 50 Mbps
- Maximum Ping = 200
- Maximum latency = 200
- Upload Speed = 30 Mbps
- Download Speed = 30 Mbps
- Memory Read Speed = 25000 Mbps
- Memory Write Speed = 20000 Mbps
- CPU EPS (Sysbench) Value = 20
These minimum system requirements are specifically for Previewnet.
Prerequisites
Before installing the Compute Node CLI, ensure the following prerequisites are met:
Port Forwarding
Enable port forwarding for both ssh server and the compute node binary on a static ip. These ports are to be provided during registration process and should be accessible from the internet.
Openssh Server
OpenSSH Server is required for remote access of Compute Nodes. If not already installed, you can install it via apt:
sudo apt install openssh-server
After the installation, ensure that openssh server is running. The user is prompted to provide the ssh port and user credential duing the registration process from the CLI. For testing it is recommended to create a separate ssh user with minimum/restricted permissions.
FIO
FIO is a powerful tool for testing I/O performance. Follow the installation instructions from FIO's Github repository, or install it via apt:
sudo apt install fio
sysbench
Sysbench is a versatile benchmarking tool for evaluating system CPU and memory performances. Installation instructions can be found on sysbench's Github repository, or you can install it via apt:
sudo apt install sysbench
Usage
Once the binary and the necessary dependencies are installed, you can use the Compute Node CLI. There are various commands available in the CLI to make the on-boarding/registration process easier. The user can start the node and execute various test commands to check the hardware status of the node.
Commands
Execute the following commands, as: ./iag-compute-cli some-command
-
start
Evaluate/Register the host machine as compute node or start compute node if already evaluated.
-
stop
Stop compute node (if already running)
-
status
Check running status of compute node
-
check
Check if the system adhere to prerequisite criteria
-
info
Extract basic information about the system
-
test-node
Test if the node is accessible from the internet
-
clear-config
Clear the configurations
-
benchmark-memory
Run memory tests and benchmark for the host machine
-
benchmark-cpu
Run cpu tests and benchmark for the host machine
-
benchmark-storage
Run storage i/o tests and benchmark for the host machine
-
benchmark-network
Run network tests and benchmark for the host machine
-
help
Display help for command
Node Integration
Adding Node
- Navigate to the 'Provider' section to begin.
- In the Provider dashboard, find 'Compute' on the left-hand menu bar.
- Click on 'Compute node' to reach the page with the 'Add Node' button.
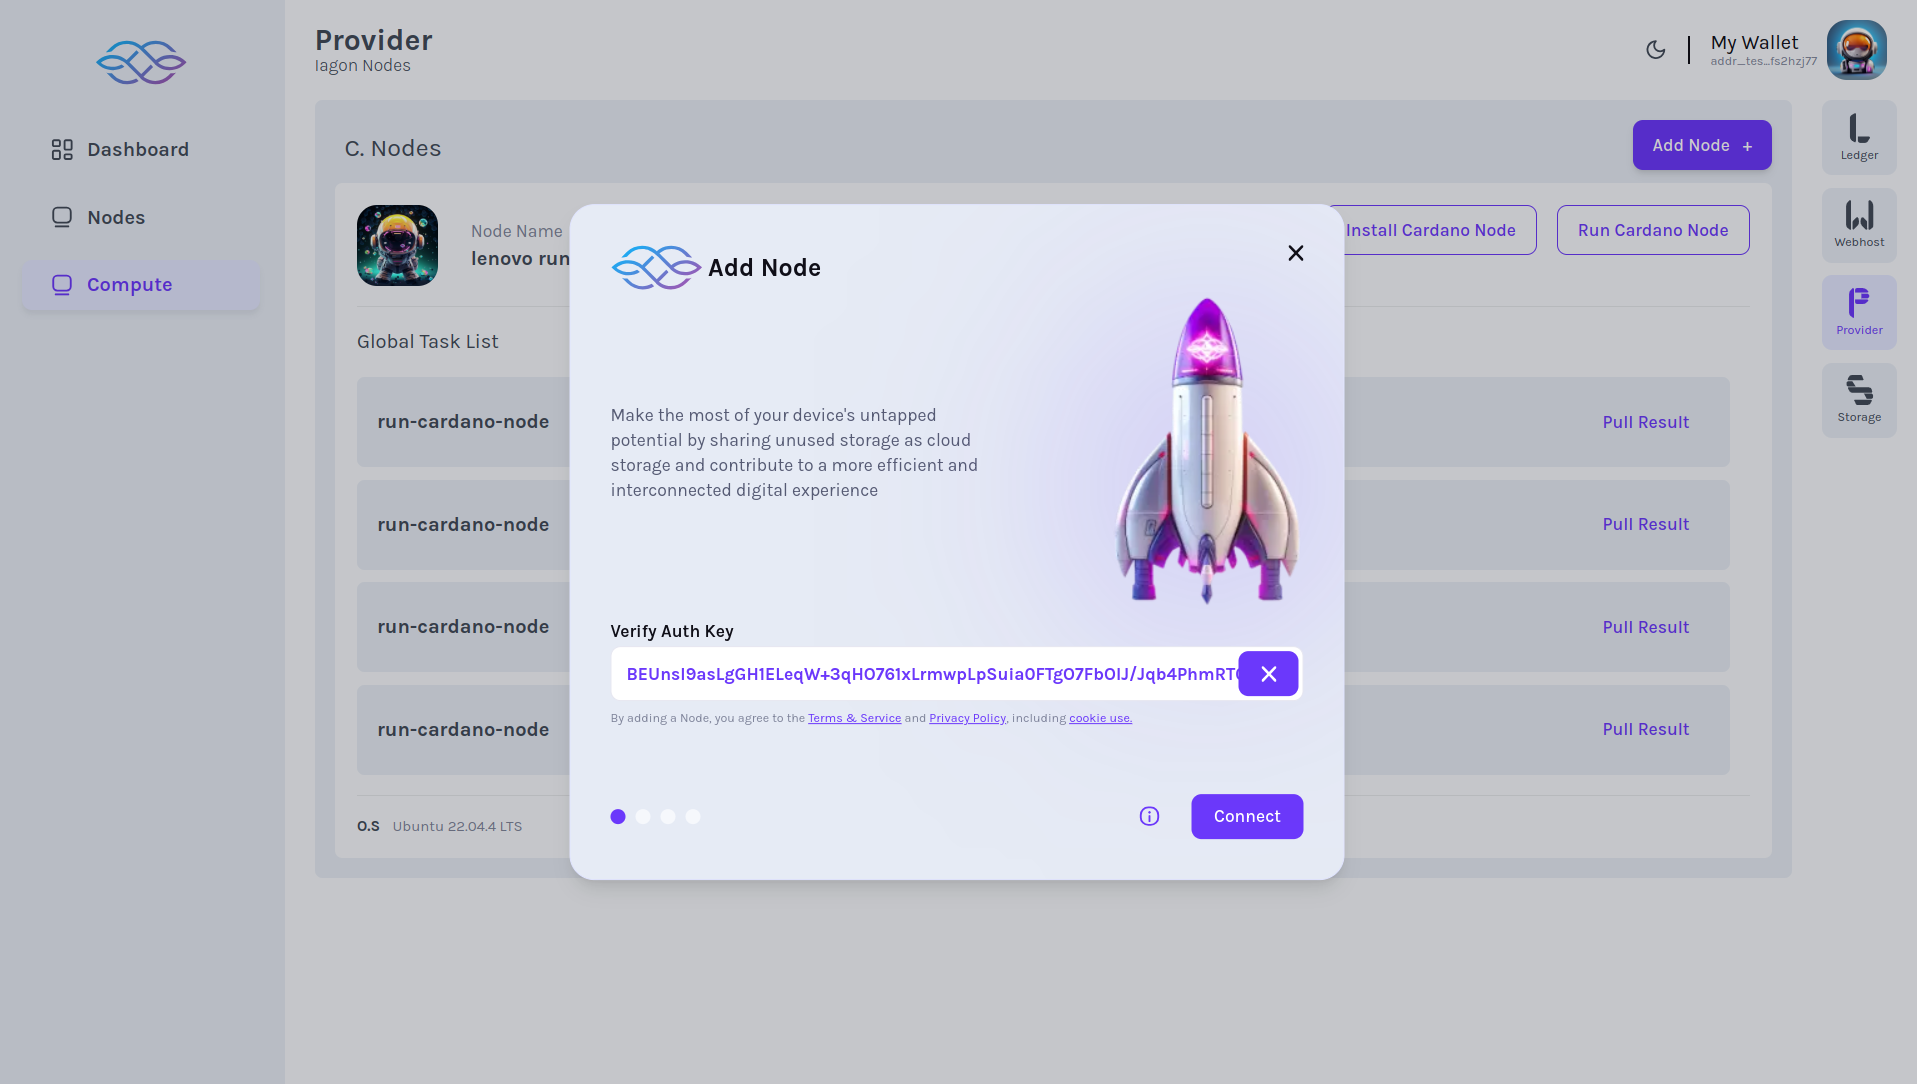
- Click the 'Add Node' button to proceed to the screen displayed in the screenshot.
- As shown in the UI, we have to add Auth key
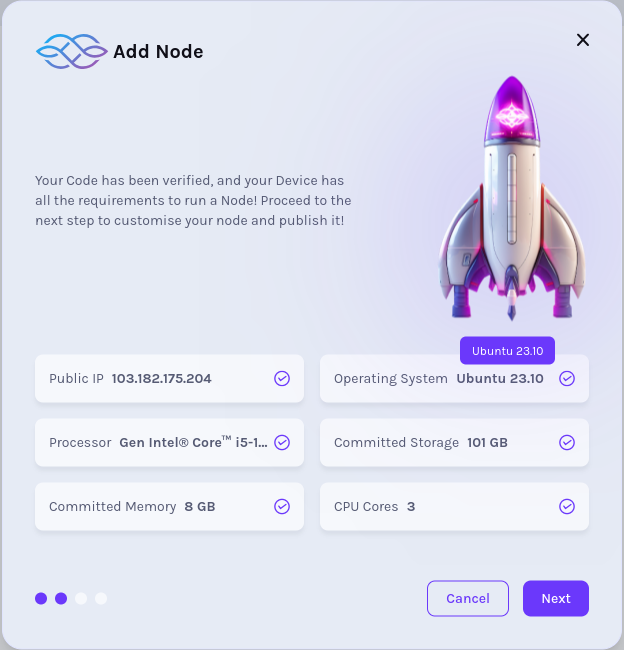
- After we add Auth key, we can view the details of the node
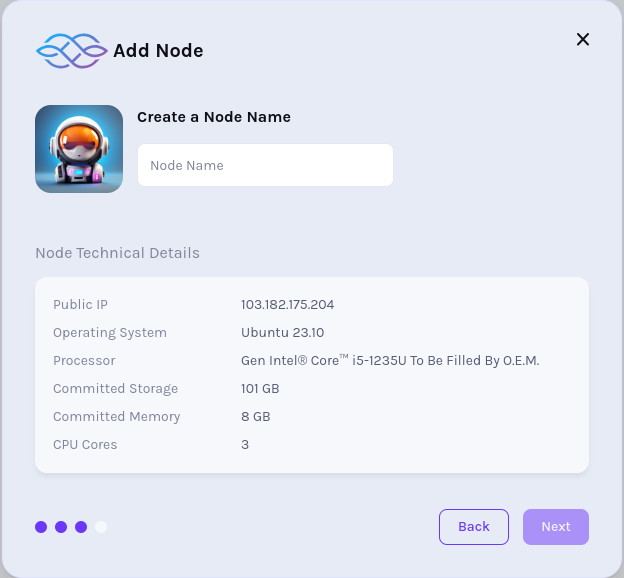
- In the next step, we have to add "Node name" as shown in the picture.
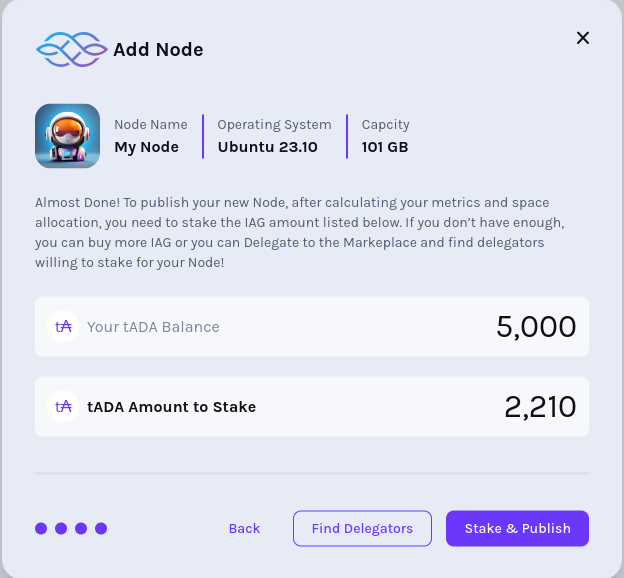
- In our next step, IAG balance and IAG amount to stake is displayed
Please note that the "Find Delegators" button is disabled in Previewnet. This feature is available only in Mainnet.
Compute Provider Dashboard
- In our Compute Provider dashboard, we can see the list of pre-set tasks defined by Iagon, such as "Run Cardano Node". These global tasks are displayed in a list view, as shown in the screenshot.
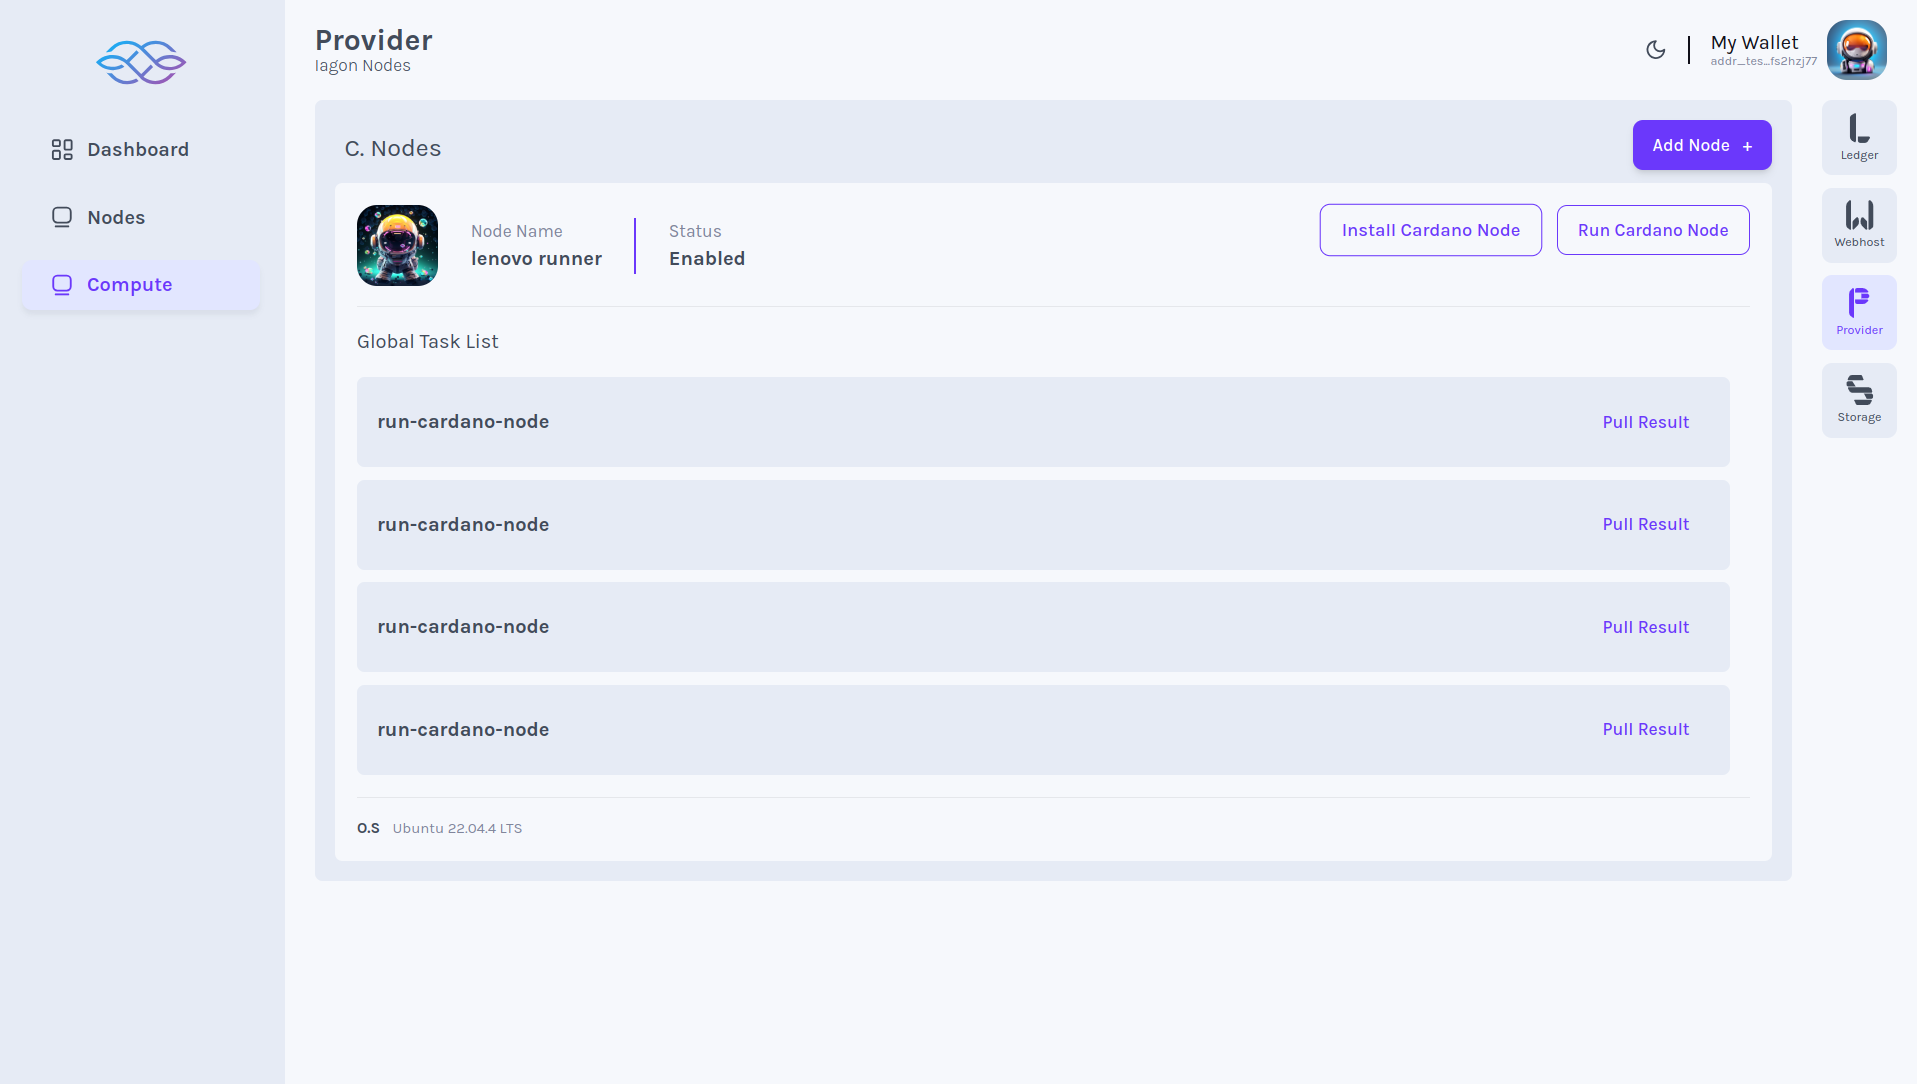
Install Cardano CLI
- As a provider, to install Cardano nodes, navigate to the 'Provider' section. In the Provider section, locate 'Compute' on the left-hand menu bar. From there, we can choose to "Install Cardano Node".
For reference: Installing Cardano Node CLI
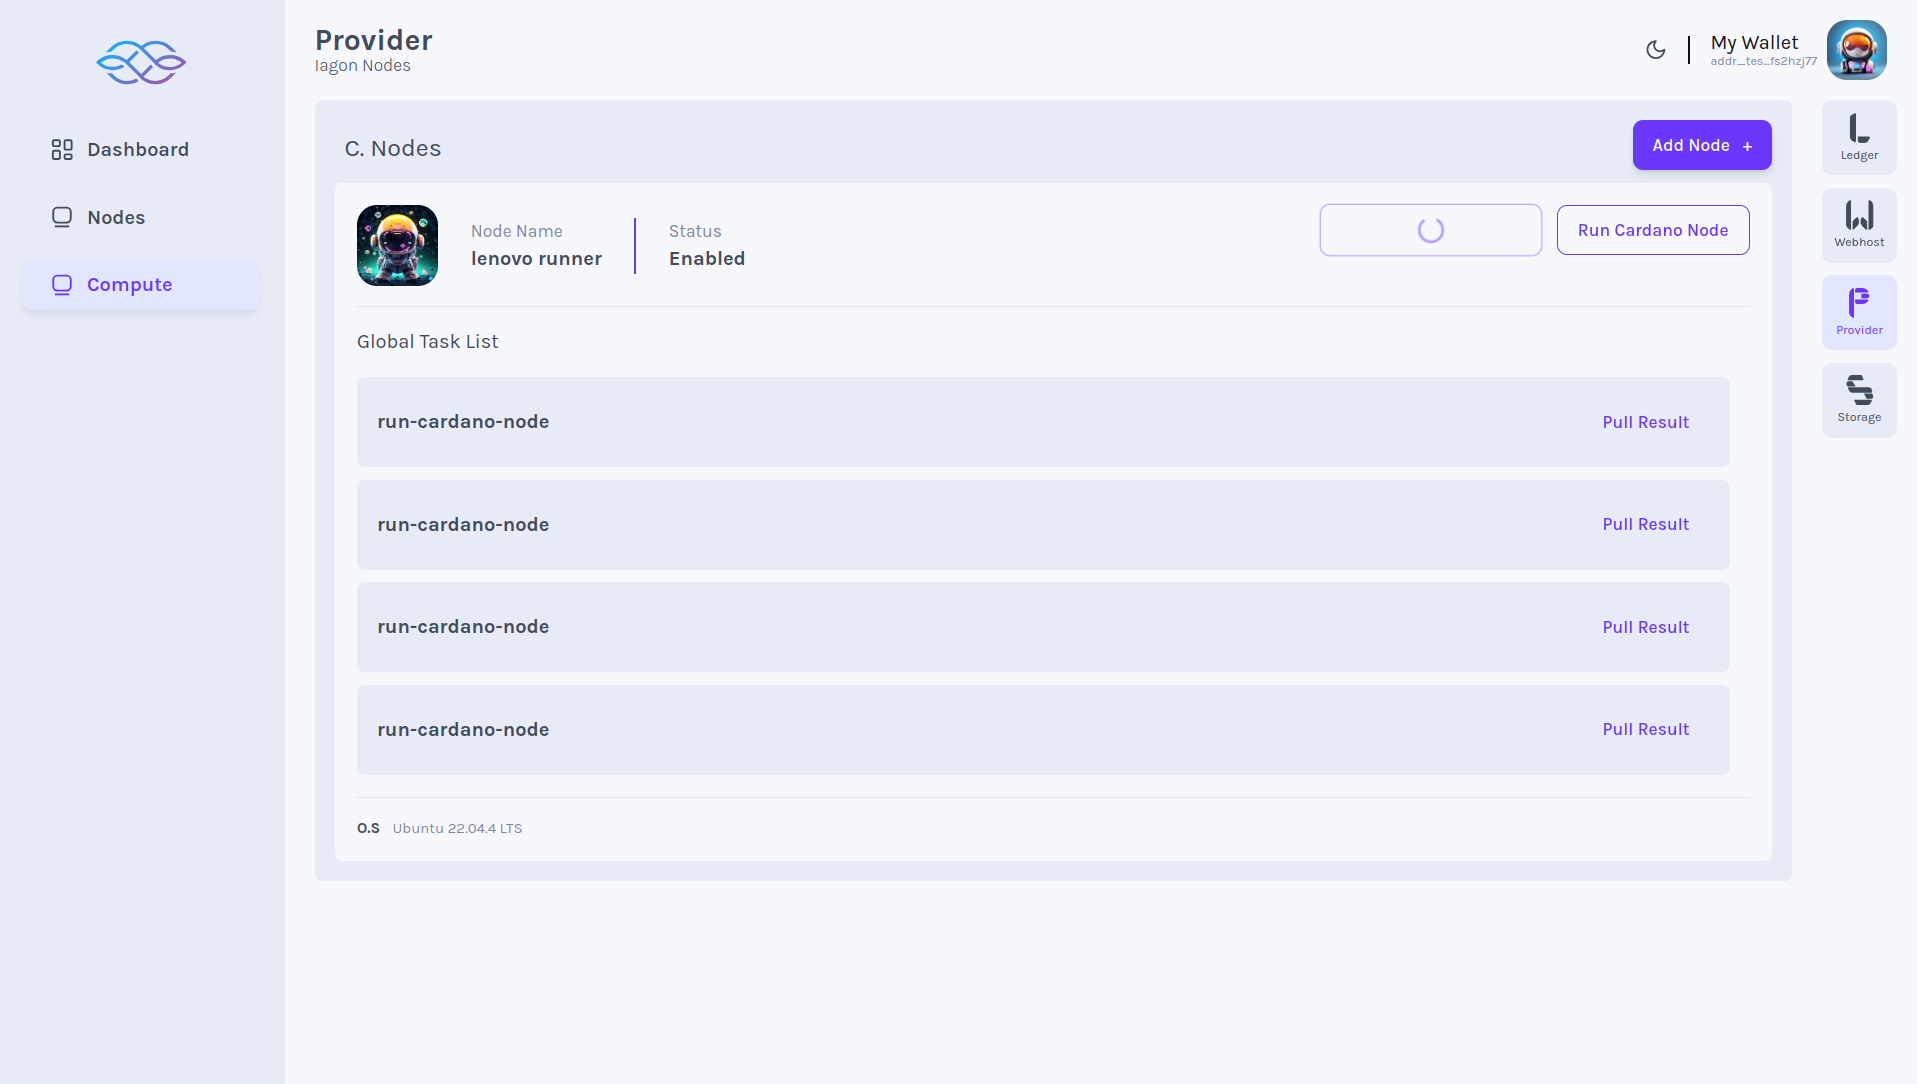
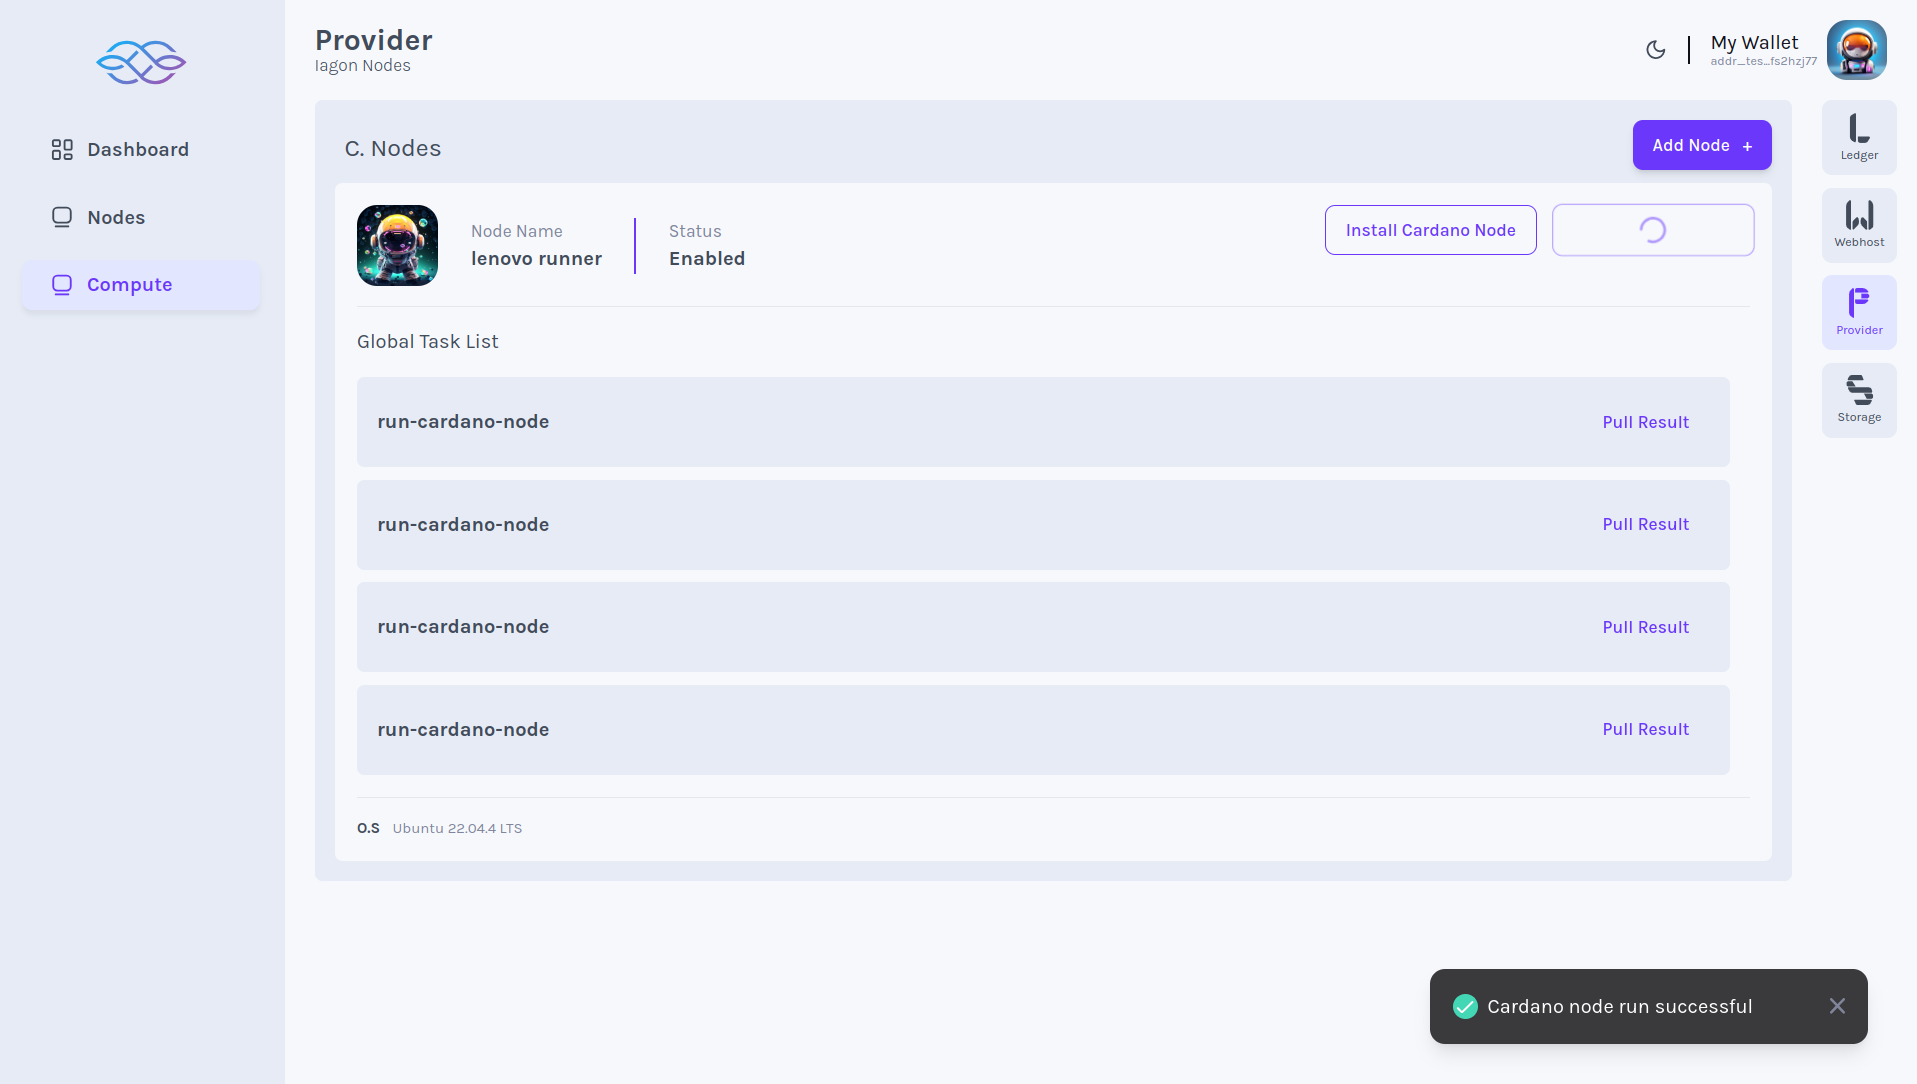
Run Cardano CLI
- As a provider, to run Cardano nodes, navigate to the 'Provider' section. In the Provider section, locate 'Compute' on the left-hand menu bar. From there, we can choose to "Run Cardano Node".
For reference: Running Cardano CLI
Storage Compute Dashboard
- In the Storage Compute dashboard, we can see the list of running commands, as displayed in the screenshot. To access this, navigate to the 'Storage' section and then locate 'Compute' on the left-hand menu bar.
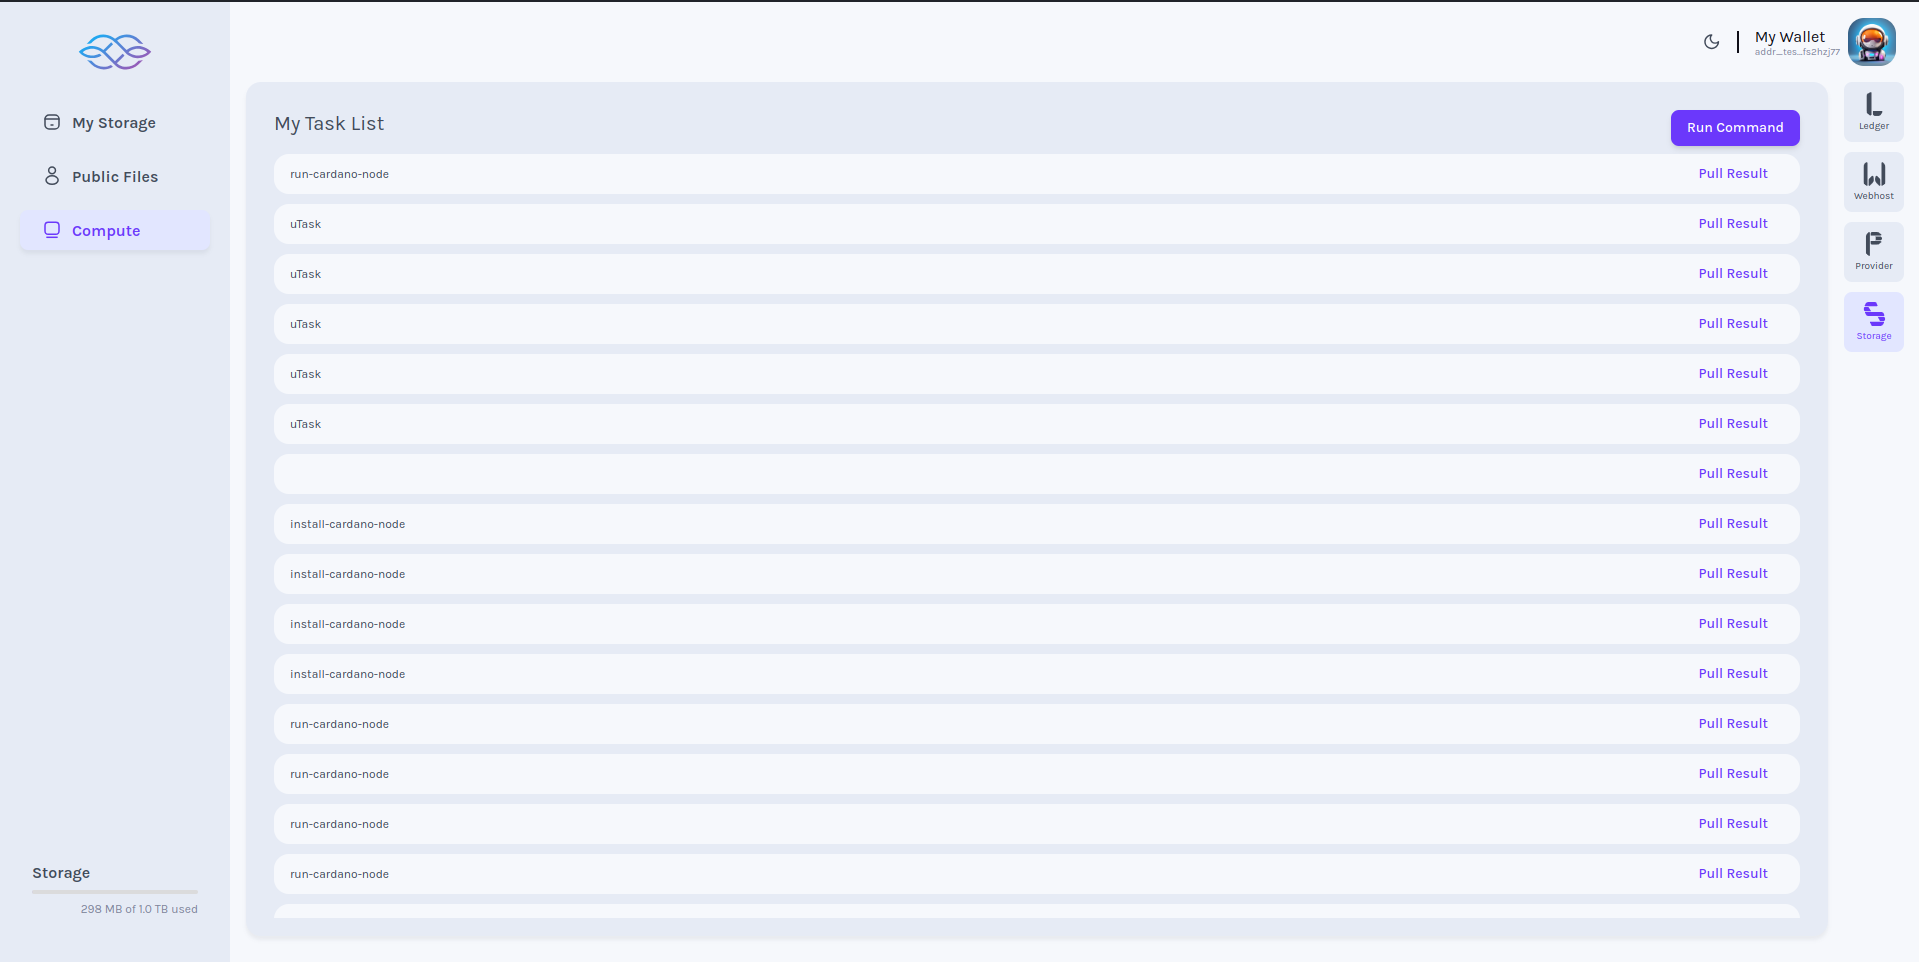
Storage Compute Run Command
- To run any commands, click on the "Run commands" button. A pop-up dialogue box will appear, allowing us to add commands, arguments, and an optional section for inputs, as shown in the screenshot.
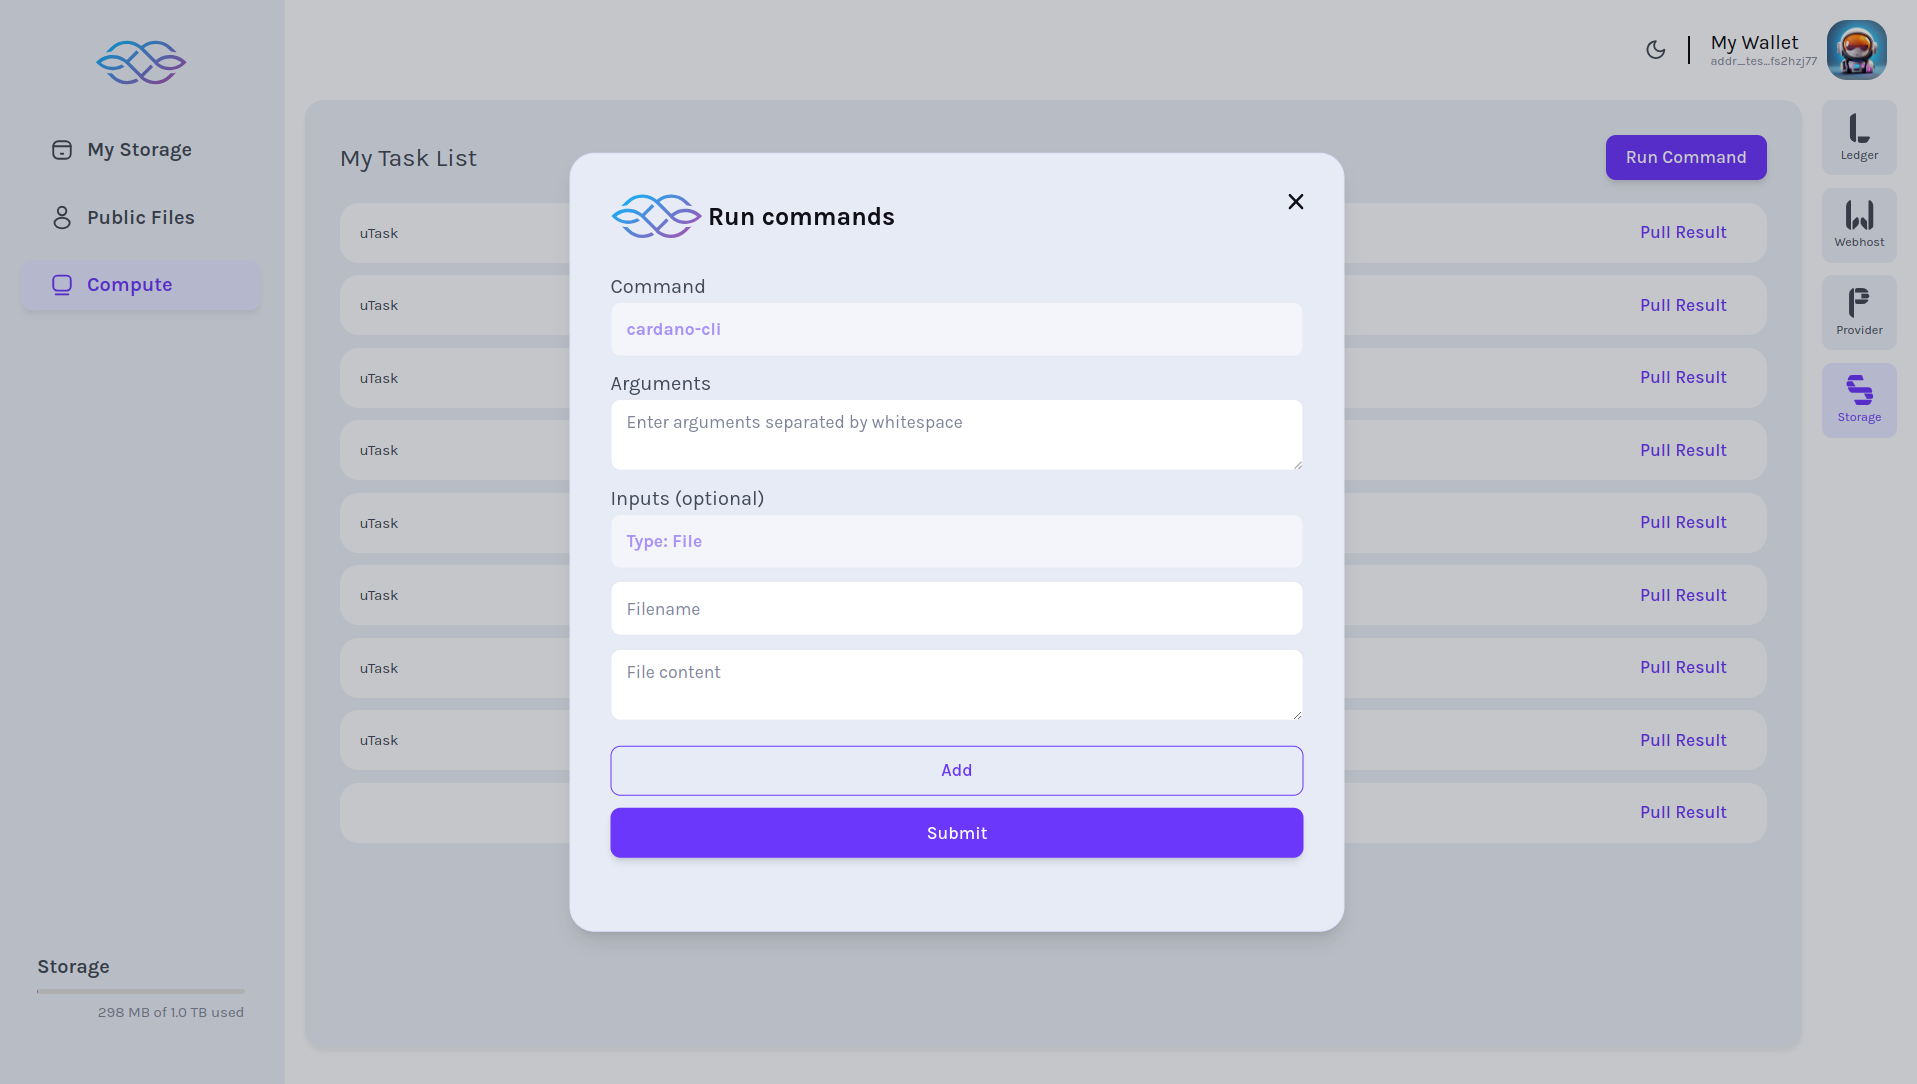
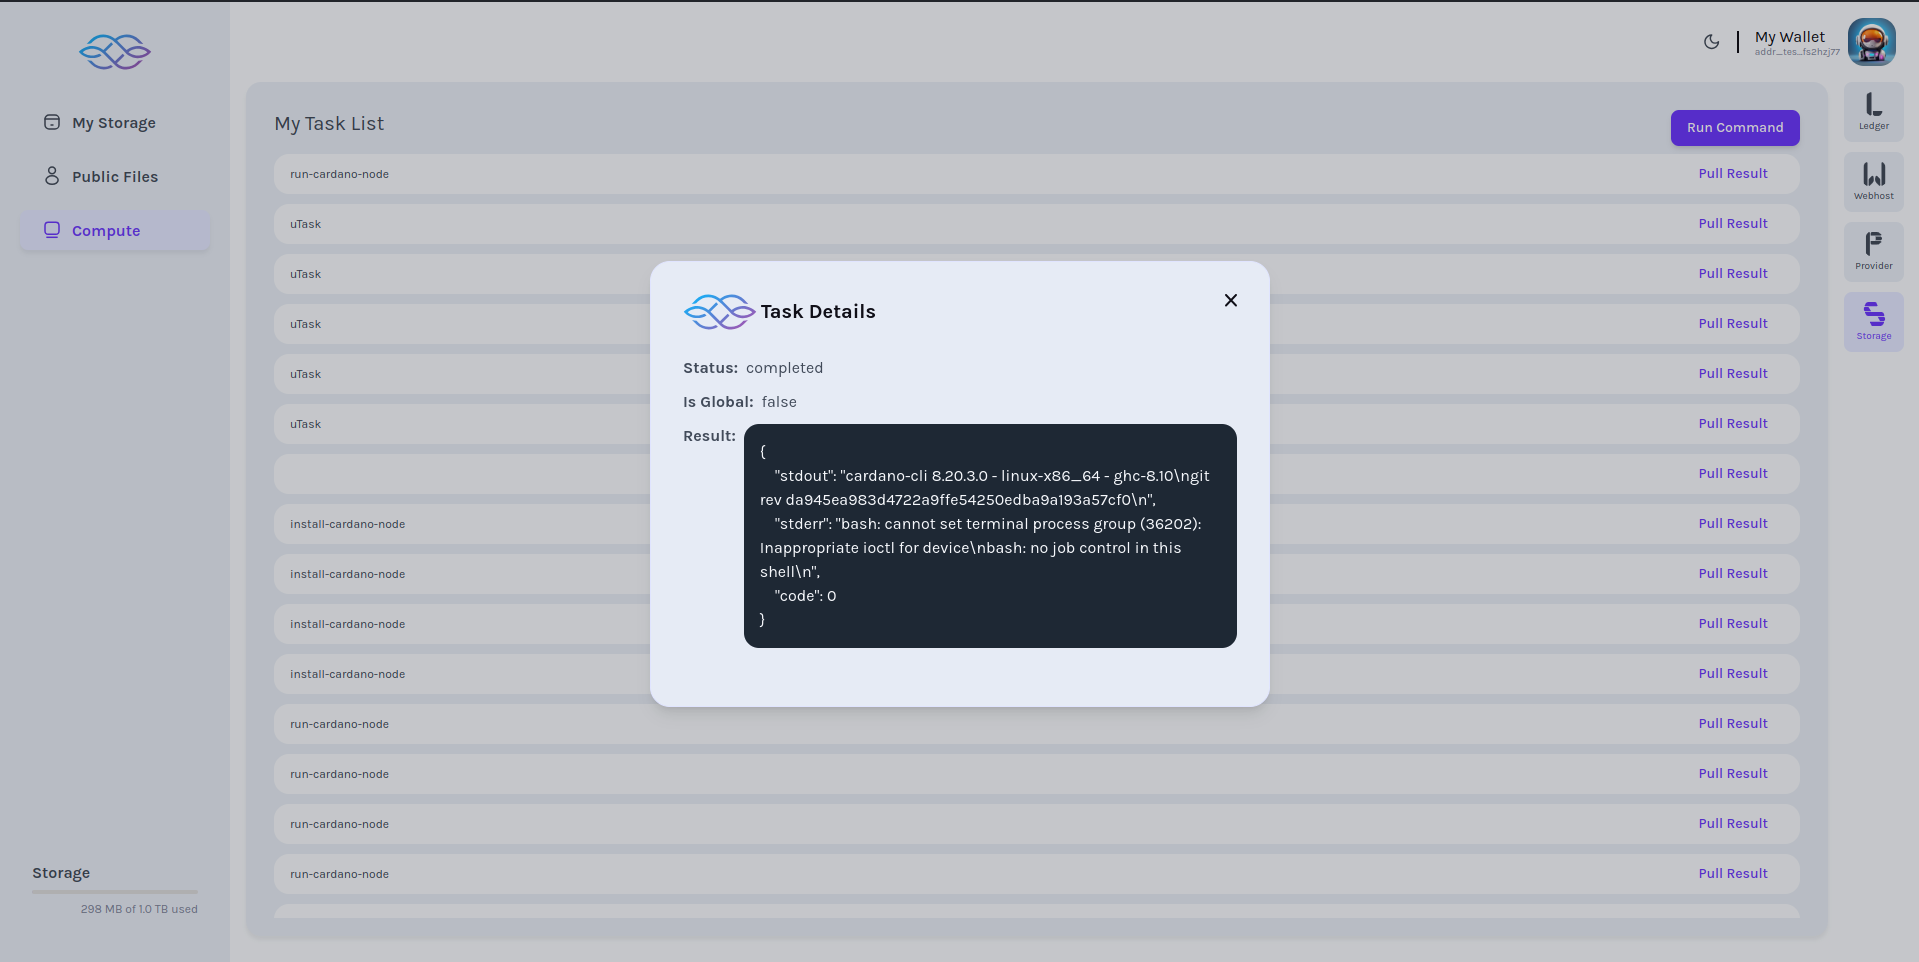
Storage Compute Result
- We can also view the results of each command we run, as displayed in the screenshot. Simply click on "Pull Result," which opens a dialogue box showing the result, as shown in the screenshot.
Metrics Collection Process
- Ping stamp -> 3 min
- Performance matrices:
-- All: once a day
-- Memory: every 2 hr
-- CPU: every 3 hr
-- Storage: once a day
-- Network: every 5 hr