Storage Node - QNAP
Overview
Iagon has developed a node package specifically designed to run directly on QNAP NAS devices, effectively removing the requirement for a dedicated server host. This integration enables users to leverage their existing NAS infrastructure for node operations, simplifying the process of contributing storage to the network.
This is the repository for Node-Qnap. Run the following command to generate a build: qbuild
Optionally, for developers to check.
IAG Stake Required
Following the setup of your device as a node, the network requires storage providers to demonstrate their commitment to the network and stake a balance of IAG tokens that is proportionate to the storage they wish to provide. The number of tokens required is dynamic and changes based on the current value of IAG tokens and how much storage a user wishes to provide. The calculation is as follows:
Current Base USD Staked per GB: 0.5
Initially set at $0.5 per gigabyte (GB) committed. Represents the minimum staking requirement in USD for each GB of storage.
Current Alpha Coefficient: 0.9
Determines how sensitive the staking requirement is to the IAG token price. Subject to adjustment based on market research.
Formula:
IAG to be staked = Storage (in GBs) * (Base USD Staked per GB + Alpha * (Base USD Staked per GB / IAG Value))
IAG stake cannot be withdrawn until the node is retired and a 3 month retirement period has passed.
Installation
Step 1: Download
- Visit here to download the installation package for your NAS platform.
Step 2: Log In
- Log in to QutsHero or the QNAP application.
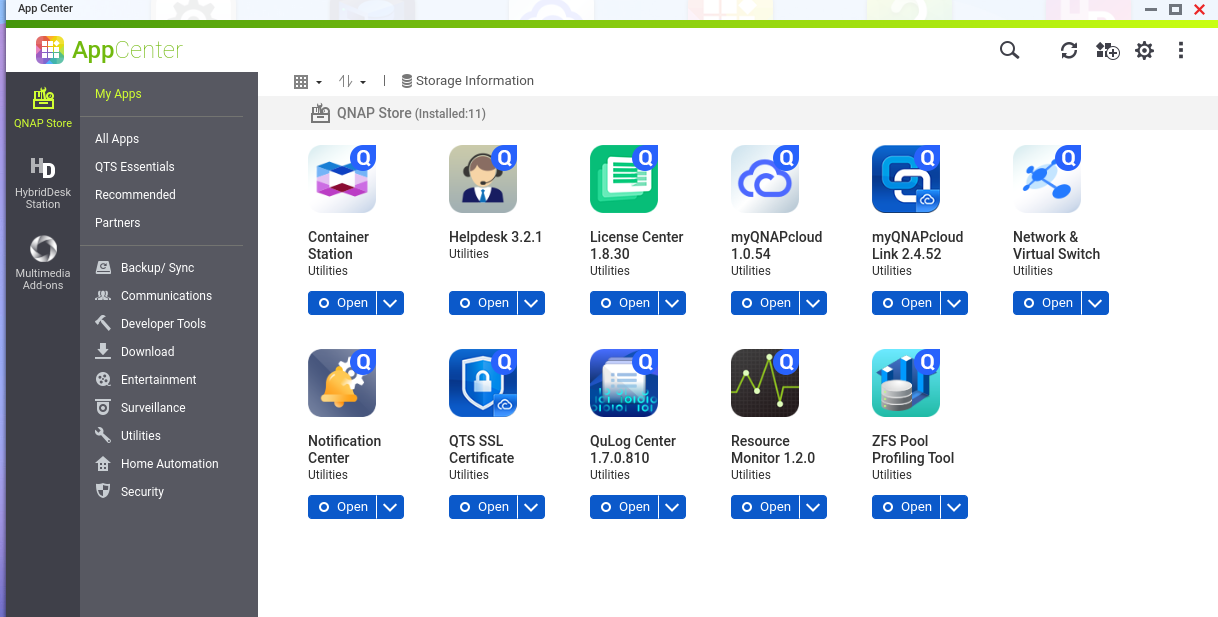
Step 3: Manual Install
- Manually install the QNAP application.
Download the IAGON (.qpkg) package from the link provided above.
a. On the top left side, you'll find a button for manual installation. Click on it.
![]()
b. Browse Files from Directory.

c. Install File
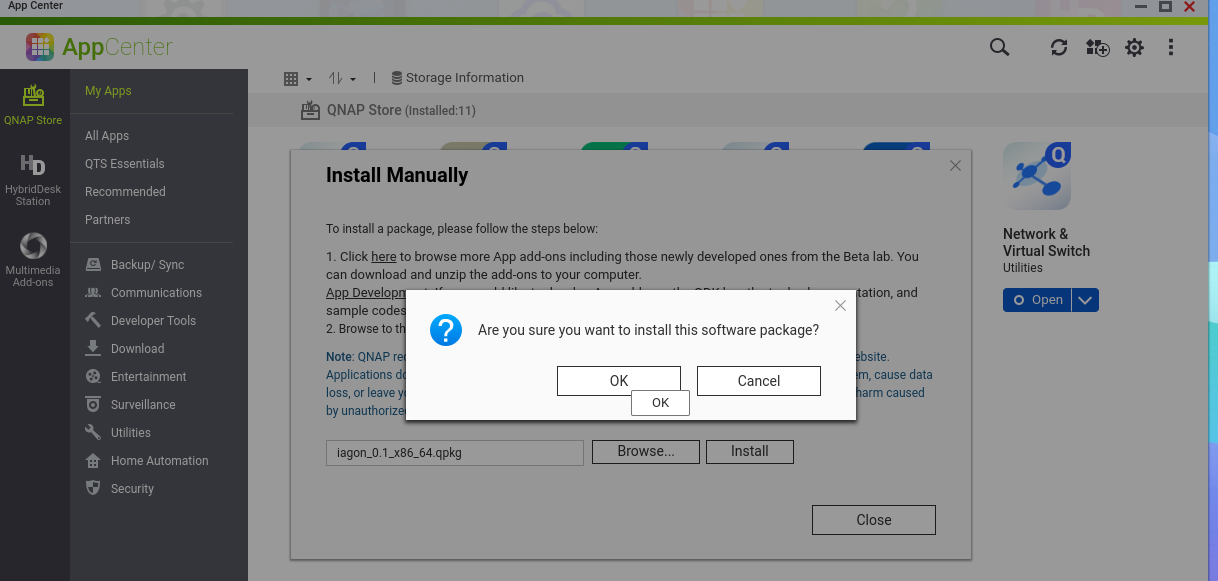
Step 4: Installation Wizard
a. Open the Qnap App after installation.
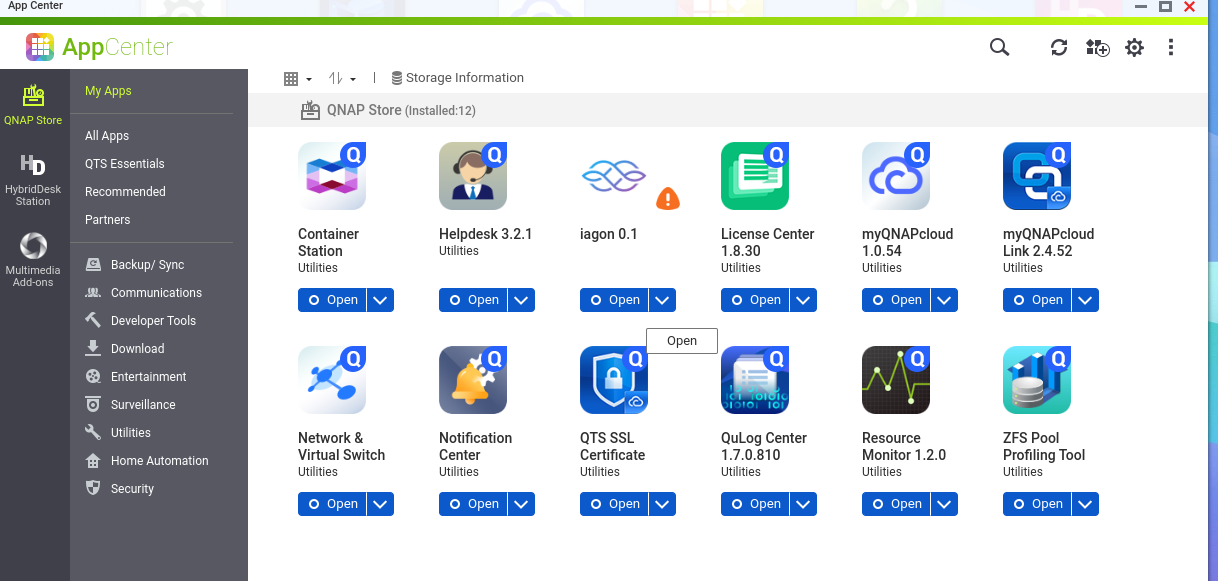
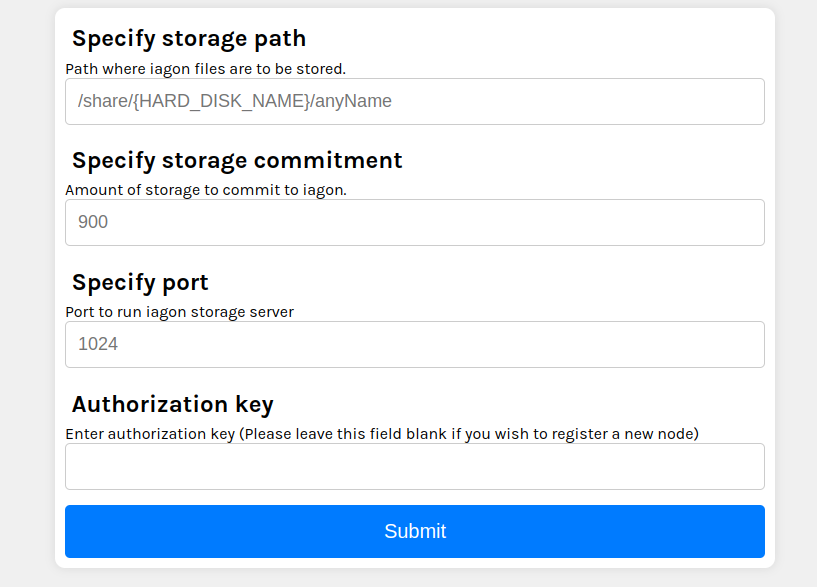
b. Fill out the Form.
The directory you mention should be valid.
Please note that when specifying the storage path, it must always start with /share/, followed by "hard-disk-name", which is system-generated, and "anyName", which is created or defined by the user.
When specifying the amount of storage to commit, it must always be a minimum of 900. Additionally, the port number must always be greater than 1024.
Step 5: Auth-Key Reminder
- Once installed, you'll be prompted with the auth-key after installation. Make sure to save the authorization key in a safe place.
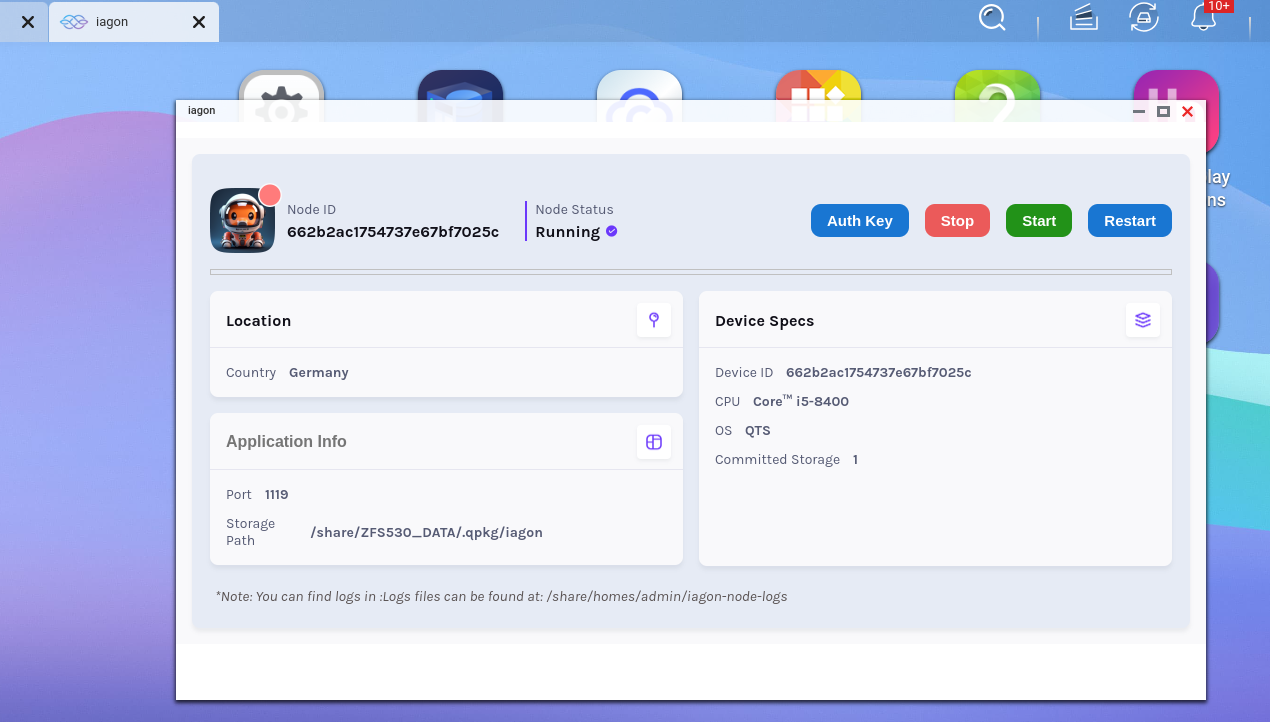
If you do not see your auth key here, you can also regenerate it.
a. If the iagon-node shows as stopped, you can start it manually. To do so, click on the start button at the top left.
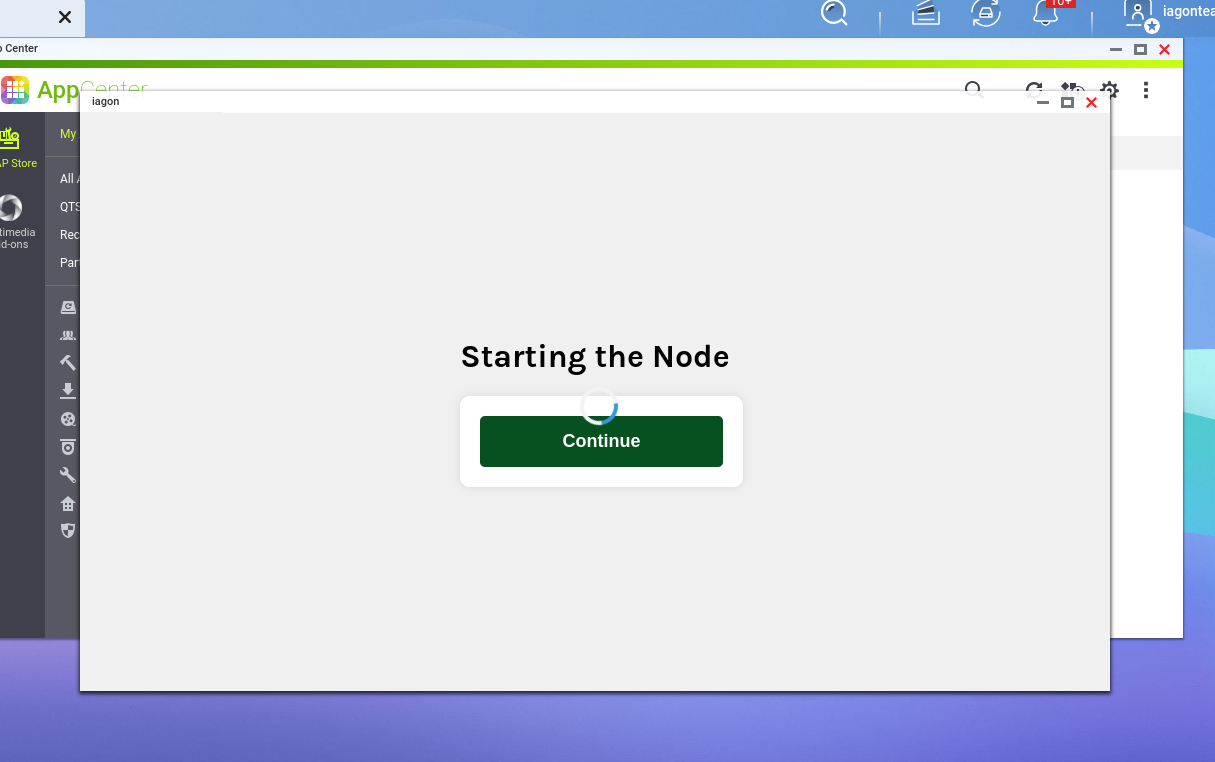
Step 6: Regenerate Auth Key
a. Click on the Auth Key Button.

b. Click on to Regenerate Authorization Key. Then, you can see your auth Key
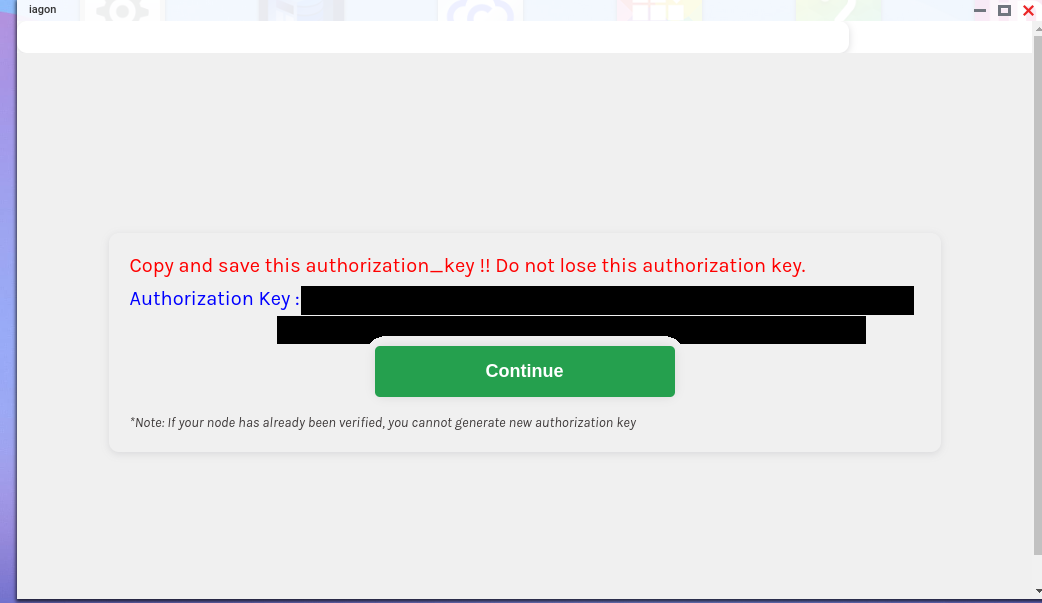
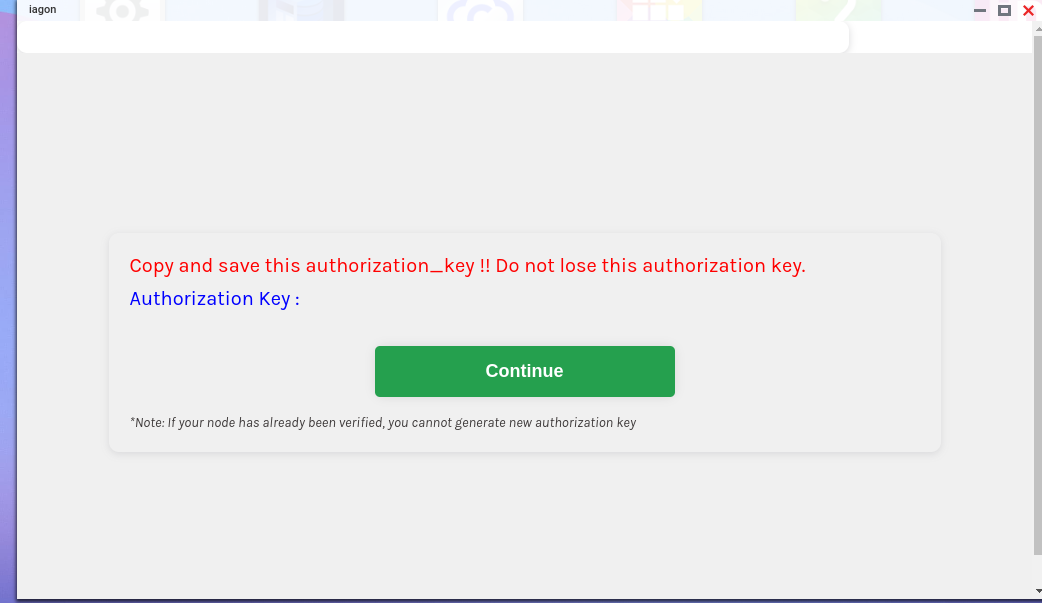
c. If your node is already verified, then click "Continue" to proceed to the application.
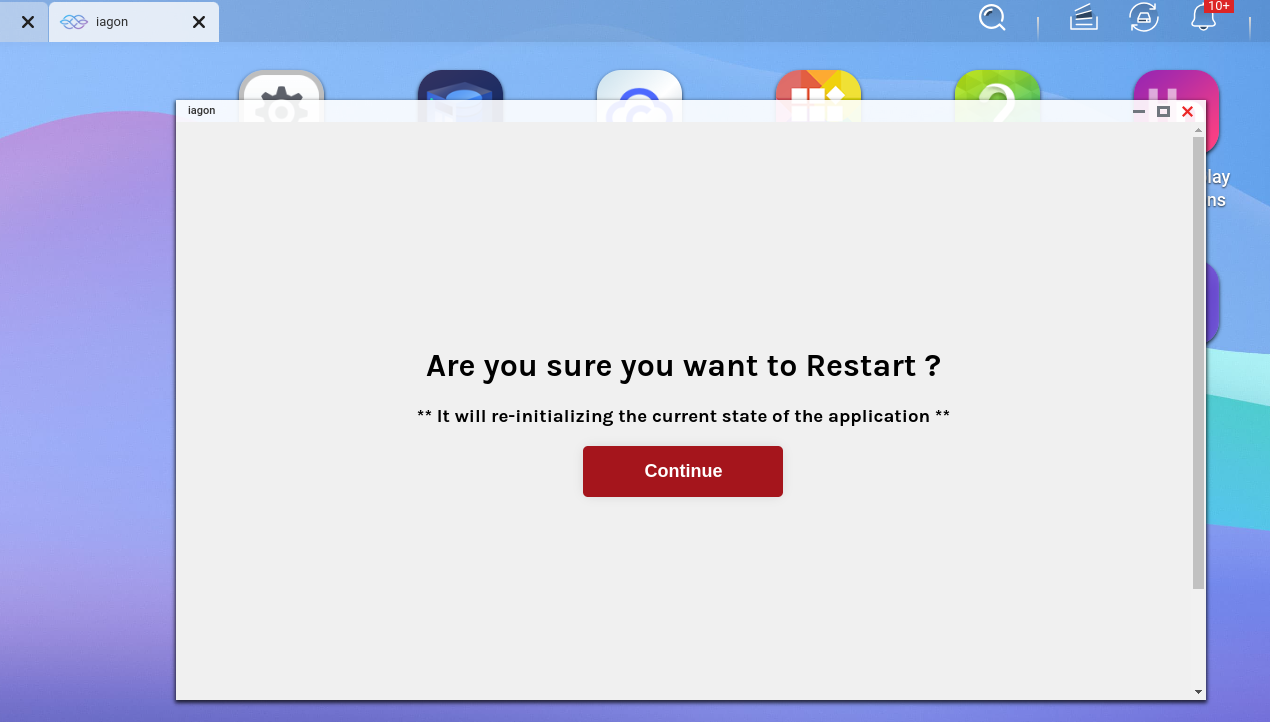
Step 7: Restart Option
- In some circumstances, you may need to restart. In this case, you can use the "Restart" button.
- This can also be useful if something failed during installation
Step 8: Node Stop
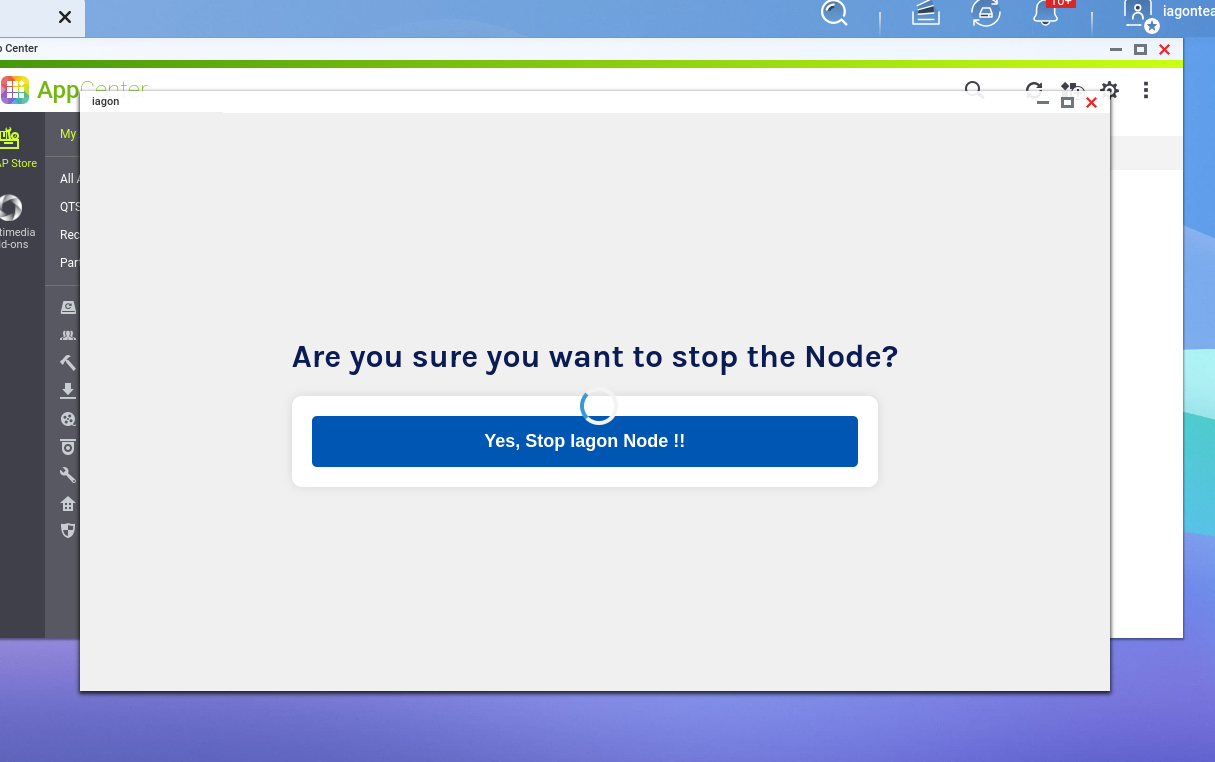
- You can stop the node by clicking on the "Stop" button in the options.
a. To stop the iagon node, Click on the stop button.
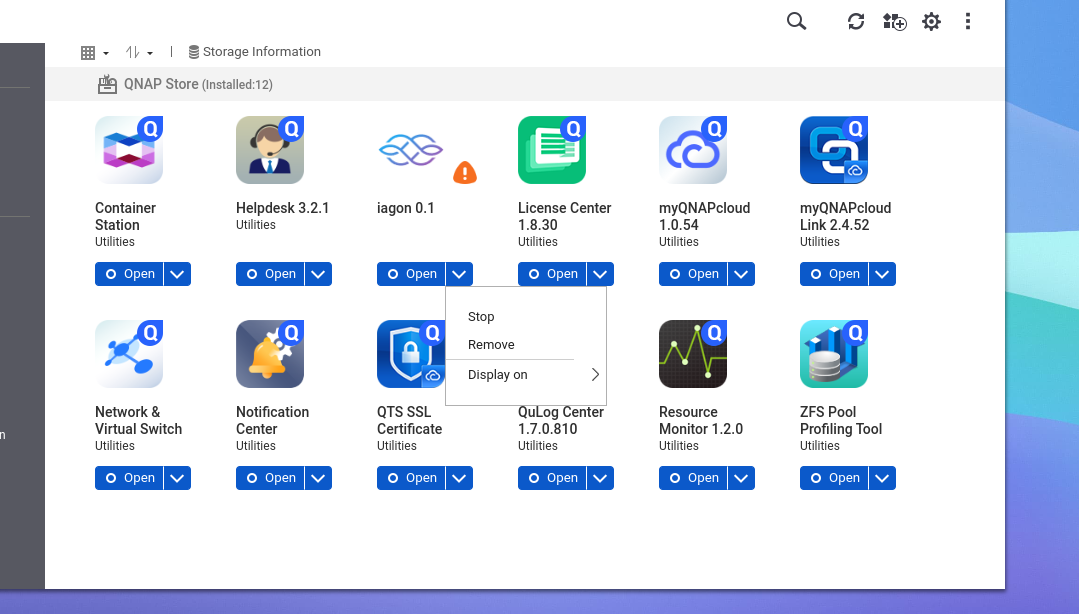
b. You can also stop the node by simply right-clicking on it and selecting "Stop Node."
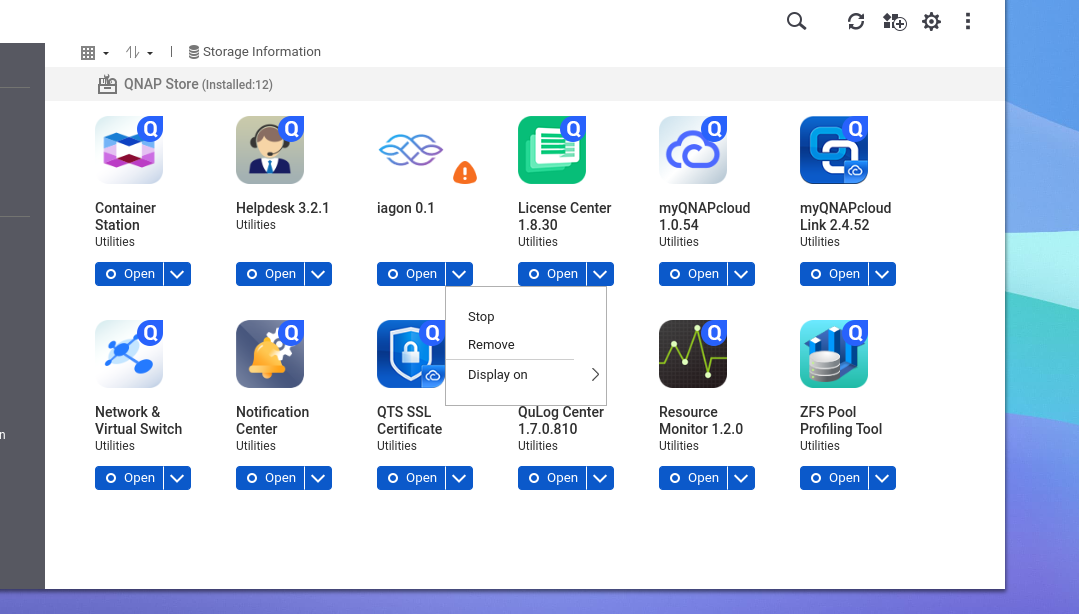
Step 9: Application Removal
- You can also remove the application by selecting the "Remove" option.
Node Registration
Step 1: Log into app.iagon.com with your Cardano wallet
Step 2: Navigate to the ‘Nodes’ section on the right side of your screen
Step 3: Navigate to 'Storage Nodes' on the left side of the Nodes page
Step 4: Click 'Add Node +'
- Enter the authorization key from your node
- Wait for the node to be evaluated
- After the evaluation summary, you can name your node, upload a logo image, and specify your storage commitment
- Stake the amount of IAG calculated based on your storage commitment size
You may resize your node and stake more IAG any time.